See if this works with your machine
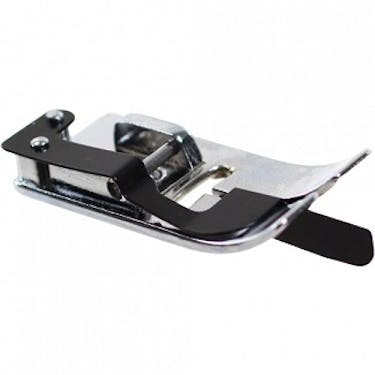
A very useful addition to the sewing room when wanting a perfectly straight "stitch in the ditch". The guide on the foot spreads the seams allowing you to stitch perfectly in the ditch, and is also useful when adding decorative top stitching along seams.
Part Number: JAN 200341002
Alternate Part Number: 200341024
Guaranteed to fit because it is a 
The flange on this foot makes this technique easy--even for beginners.
Where does the term "stitch in the ditch" come from and why do quilter's use it? On your quilt top, when you press both seam allowances to one side of a patch, you end up with more layers of fabric under that side of the seam, causing it to sit a little higher than the other.
Many years ago quilters discovered that it's easier to do your quilting on the lower side of the seam because it has fewer layers of fabric. This in turn causes the higher side of the seam to stand up even more for a desired dimensional effect. Because you're stitching along in the little low area next to the seam, you're stitching "in the ditch."
To do this technique successfully, you need to keep your stitch a consistent distance from the seam. The flange on the Ditch Quilting Foot makes this easy.
How To Stitch In The Ditch With The Ditch Quilting Foot
- Snap the Ditch Quilting Foot onto your sewing machine. Select a straight stitch. And set the machine for a medium speed.
- Align your fabric so that the flange rests in the seam. You can move the needle to adjust how close it stitches to the flange.
- As you sew, keep your eye on the flange, making sure it stays in the seam.
And you've made a beautiful stitch-in-the ditch.


